Showing posts with label blanket. Show all posts

Friday, April 3, 2015

SO's Blanket: Complete!

As you may know, SO and I have been together for over five years. When we first started dating, I was only a crocheter and spent countless hours on his couch crocheting blankets for others. When I finally got around to starting his blanket around Thanksgiving 2011, I think the blanket went through four froggings and a plethora of pattern ideas before I finally settled on just a simple giant granny square like the one I had been working on for myself.

It's funny because I distinctly remember dragging this blanket around with me on a regular basis for the first few months that I worked on it and once it got too big, my progress on it really began to come to a standstill because I was rarely home between work and school. In total it took me almost four years to get SO's Blanket done, but he absolutely loves it, so it was worth all the time, all the yarn (almost four miles of it!), all the carpal tunnel issues were worth it. It now lovingly lives on SO's Queen Size bed as shown below and I just got word that he "had the best night's rest he's had in months" because of it!


Wednesday, April 1, 2015

Pattern: 10,000 Memories Afghan

10,000 Memories
Pattern by Bob Crochets

Materials Required
  • Crochet Hook (I use a 4.0mm G Hook)
  • Yarn for motifs (<2m per motif)
  • Yarn for joining and border

Motif Instructions
If you are familiar with granny squares, this is just a one-round version--very simple. Ch 5, sl st tog. Ch 3 (this counts as your first dc), in loop 2dc, ch 2, *3 dc, ch 2* 3 times. Join at top of Ch 3. Weave in ends.
A whole lot of motifs ready to be joined.


Joining Your Afghan
A few notes before starting:
  • I find it quite helpful to look at each square as having four sides of a "1-3-1 pattern." There's 1 chain, 3 double crochets, and 1 more chain on each side of the motif.
  • You'll be joining this blanket in a step pattern from right to left as you move upward. I find that it helps to keep this in mind as you read through the directions and join your work.
Step One
Take two motifs, right sides facing eachother. Put hook through both loops of motifs' first chain stitches in the 1-3-1 pattern [Image 1]. Attach joining color [Image 2].
Image 1: Hook in first two loops of motifs.
Image 2: Attach joining color to motifs.

Step Two
Slip stitch  in first chain space of 1-3-1 pattern. (When starting a new row, this will be the same stitch where you attach your joining color to your work.)

Step Three
In back loops only, slip stitch in the side's three double crochets [Image 3].
Image 3: Hook in back loops of DC only.

Image 3: Hook in back loops of DC only.

Step Four 
In both loops of next Ch 1 stitch, slip stitch [Image 4].
Image 4: Hook in both loops of chain stitch.


Step Five
Pick up another motif and place it right-side facing down/in where the next "step" of the stairs should be [Image 5]. To join, repeat Steps 1-4 [Image 6].
Image 5: Placement of next motif.
Image 6: Step One demonstrated on next motif.


Step Six
Repeat Steps 1-5 until you reach the end of the row. You will be joining up the right side of a square, then across the top of it, then up the right side of the next square, and then over the top of it, always moving from bottom right to top left until you reach the end of the row. You'll be performing Steps 2-5 twice for each square--once going up and once going across--except for when you join to the first and last squares of each row. See Step Nine for more detailed photographs.

Step Seven
When you reach the end of a row, chain 1, cut joining color, and pull end through loop [Image 7].
Image 7: Chain 1 before cutting and pulling joining color through.
Step Eight
Optional: I like to begin crocheting my borders as I go. I find that it helps me manage all the yarn tails and allows me for the blanket to have much more strength as I work. If you decide to do this, single crochet up the straight (left) side of the blanket--five stitches per square--as you work each row. This process goes slowly, but I find it to be quite worthwhile.

Step Nine
Repeat Steps 1-8 until your blanket has reached your desired length. You will have a staircase of stairs instead of a square afghan. To square everything off, continue adding rows to the afghan via Steps 1-8, but make sure to start on top of the previous row's rightmost square instead of to its right. Also make sure to only crochet up to the desired height of your afghan or it will keep getting taller. See photographs below for additional information.
Front Side of afghan before "squaring up."
Back Side of afghan before "squaring up."

Close-up image of afghan's back side. It has an amazing texture!


Squaring Off Your Afghan
Below you will find more information about squaring off and completing your afghan. Each image below will walk you through the process, but if you need further information, please ask!

Placement of all squares before "squaring off":
 

Step 4 on third row, second square of afghan as you join over the top of last row's squares.

Step 2 on third row, second square of afghan as you join over the left-hand side of your square.

Step 1 on "Row 4," square one. Note that this row begins the "squaring off" process by starting on the top of the last row completed instead of to the right.

A finished piece that has been completely squared and tied off.

Step Ten
If you did not follow Step Eight, single crochet around the afghan. Add desired edging and you're done! (I prefer to use a simple double crochet border as shown below, but there are a lot of edging options that would look nice.)
Finished piece with a single crochet border.
My preferred edging method, as noted above.


Contact Information
If you have any questions about this pattern, find errors, or would simply like to contact me, please feel free to leave a comment below.

Monday, March 10, 2014

Life, Work, and Companion Cubes

Well, things have been a bit hectic lately, but midterms are finally over and I think that I'll be able to get some more work done on Yoshi, soon.

My biggest two issues in terms of crafting have been time management and safely transporting my projects around with me during the week. Between work and classes (and applying for an amazing position that just came available at work this week), crafts haven't been at the top of my list. They've been toted along with me recently, but not much attention has been given to them, I'll admit.

I've always felt fortunate to have a boss who is also a fellow crafter. She has always been comfortable with me bringing my crafting with me to the office every day so long as all of the office's day-to-day tasks and special projects are completed. And I'm lucky that I can multitask while making our courtesy calls every afternoon, especially Friday. Here's how my week in crafting went: twenty-six  granny squares waiting to be tied and sewn in on my Companion Cube blanket.

Despite a hiatus, I've been able to get quite a bit of work done on this blanket since starting it last April. I've made 192/212 off-white squares and combined I only have 145 total squares left to make before I begin sewing. Hope everyone had a great weekend!

Friday, January 10, 2014

3 Years in the Making: SO's Blanket

My SO and I have been dating for four years in late February and the poor guy, I've promised him his own afghan since abut six months into our relationship. Almost three and a half years later, he's still without a blanket to call his own.

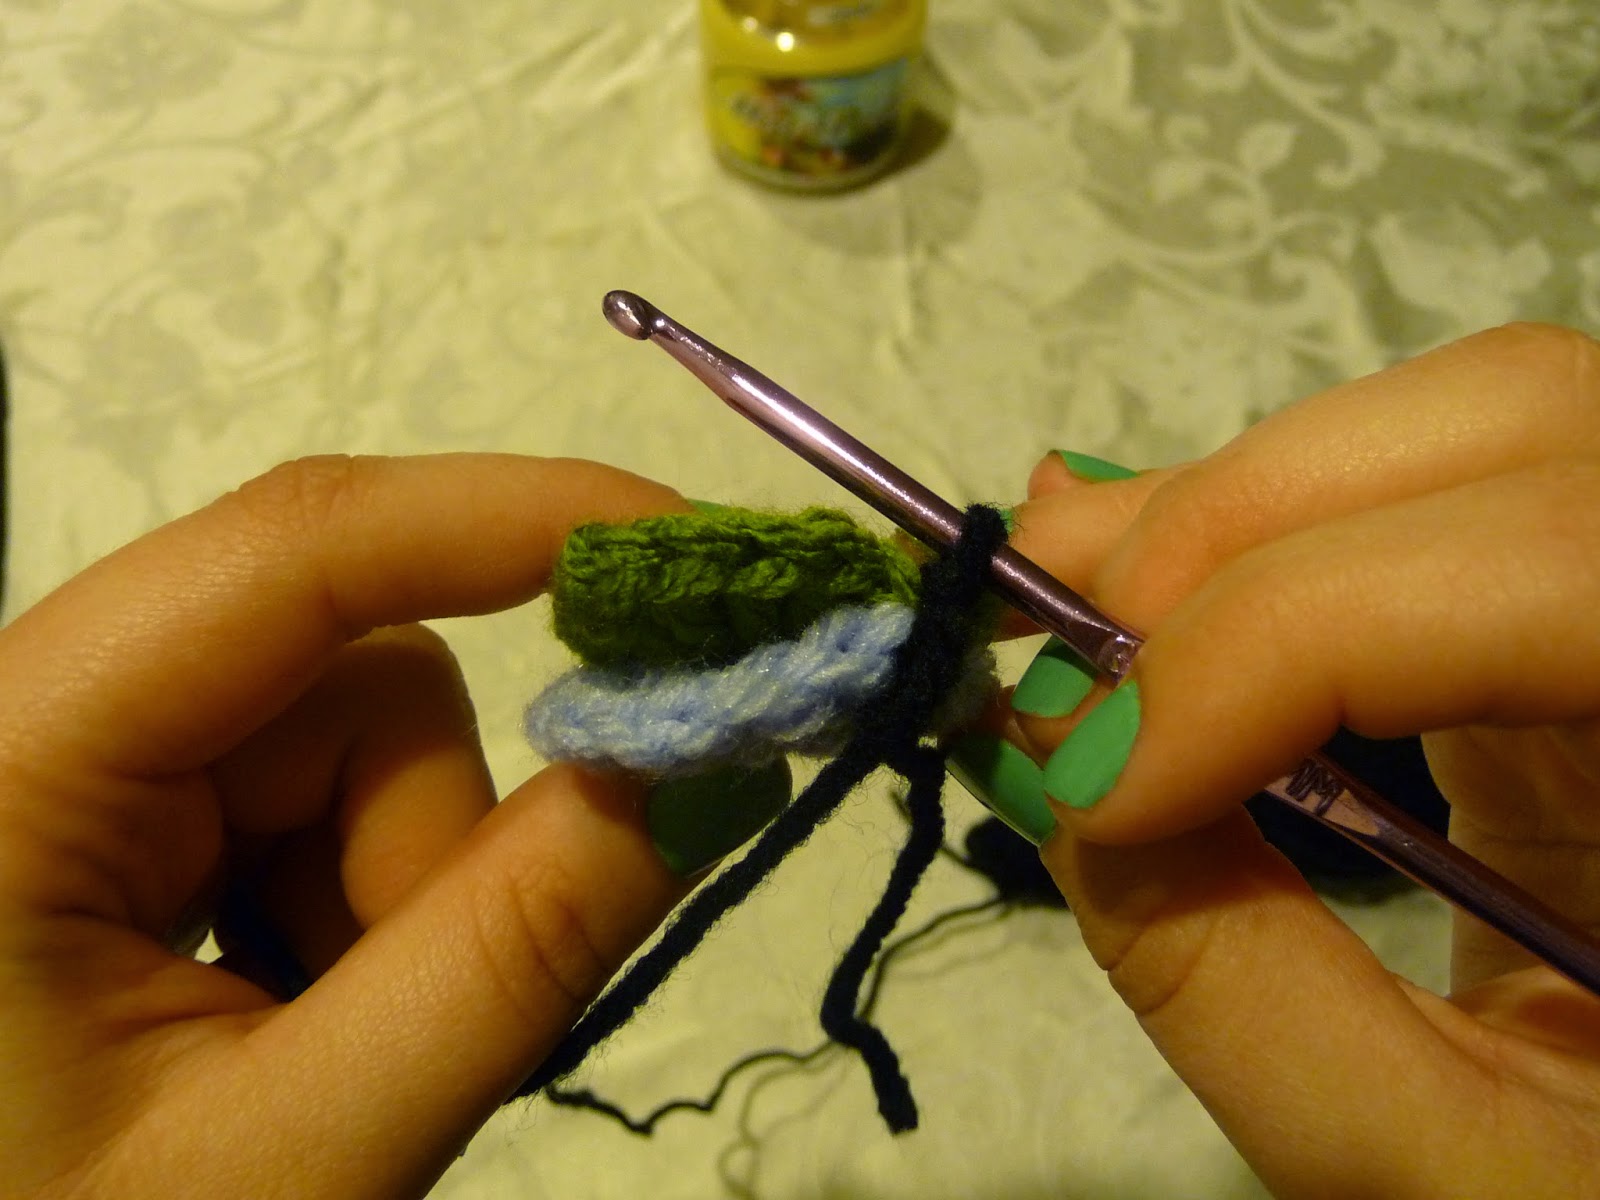
SO's blanket has undergone a lot of redesigns. At first I was going to make him a "sand dollar" style blanket, and then a ripple, then a granny square piece, and then and then and then. Finally, after about two years of fighting with the design, I settled on an old favorite: the giant granny square. This one hasn't been frogged.

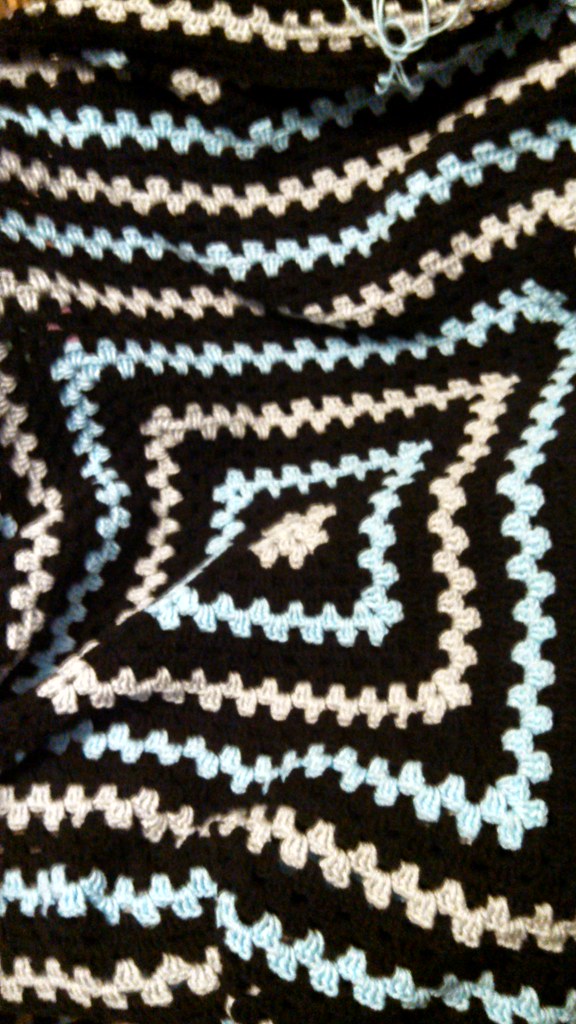
And actually, it should be completed before the end of 2014 if I keep up with it at all. I'd like to get somewhere around 100-120 rounds when all is said and done and if I counted my rows correctly, I'm somewhere in the mid 70s range right now. Each side of the blanket currently takes an hour to complete, so four hours per round if I work diligently. It's a shame that winter is almost over because I'm not much of a large-project crocheter when it gets to be summertime in San Diego. Here's a picture of SO's blanket design. I basically recycled a pattern that I'd used on my own giant granny square blanket back in 2011.
When all is said and done, there should be over six miles worth of yarn in SO's blanket. Should keep him warm, right?