Showing posts with label pattern. Show all posts

Thursday, May 3, 2018

New Project: Servotron's Mario Through the Ages

Pattern & More Info Below
I told myself that I wouldn't start any new cross stitch projects until I finished up my 2017 Danganronpa SAL, but I just kept putting off finishing the thing because in my head I was remembering that the pattern took too much of my effort to actually focus on. Wrong... Last night I took it out to see how much actual work I had left on it and I ended up finishing the SAL off. I'm stoked because now I can start a new project, Mario Through the Ages, and focus on my other WIPs like my BIL's blanket.

My next project (which you'll see me refer to as MTTA from here on out) is another big one, bigger than Home Sweet Home Yoshi. When all is said and done, MTTA will be 72 inches square, which is huge. Truth be told, it's going to take some major time to finish, but on the weekends I'd really like to get two 18x18 squares done. It'll be a lot of work, but since this pattern has a lot of solid color blocks, I'm thinking that I'll be able to work on it pretty quickly after I grid my aida and really start digging into it.

For now, I'm just excited to be cross stitching again. Like HSHY, this project is going to be my baby for the next several months (or years) and I can't wait to complete the entire thing and get it framed on the wall. For me, there's no bigger sense of accomplishment than finishing a large project like this and then showing it to the world. And who knows, maybe it'll inspire another stitcher to start a new project!


Pattern Links:
Servotron's Mario Through the Ages Pattern (via Sprite Stitch)

Monday, August 22, 2016

"I Quit", Ikea, and Other Musings

I rage-quit cross stitching yesterday. It's definitely a temporary thing, but I'm really burnt on it for the moment. I have been putting every spare ounce of energy I have into finishing Yoshi and when I finally decided to give myself a break and work on a different project, I found out a few minutes into it that I had made an everlasting screw up toward the beginning. There was no way of fixing it, and thus I threw it in the trash. (Honestly, it felt sort of refreshing, but it was the first time I'd ever junked a cross stitch piece, so it felt pretty foreign.)

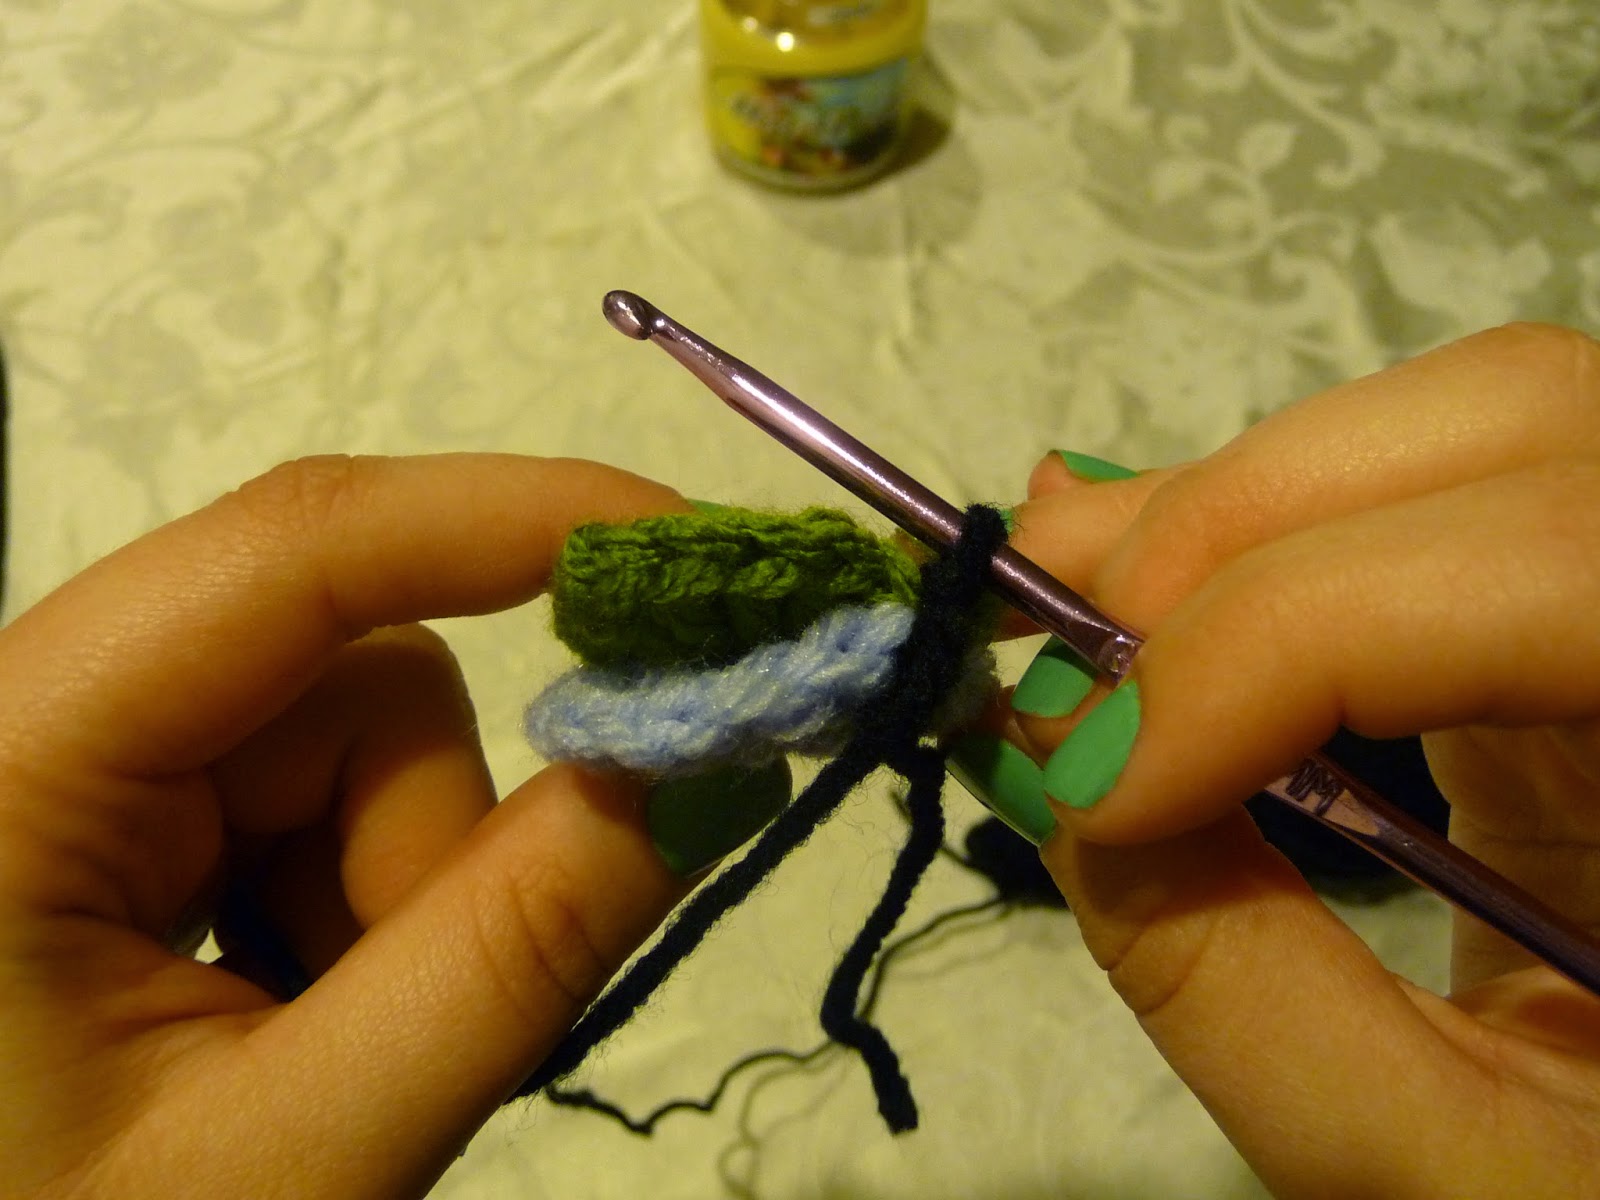
It's dead to me now...

So, after relieving myself of the gift that never gave, I decided to start another project--again an image of a present--that I'd wanted to complete as a Christmas gift. I, however, miscounted and had to completely start over twice. Needless to say, I was pissed, so I threw that one out, too. And now I have no other projects in my queue that I intend to work on for quite some time.

My guess is that an enormous haul at IKEA may have done me in yesterday. Fiance and I decided to get the vast majority of our furniture shopping done before moving in to our new home, but we didn't realize the consequences of buying things without a place to store them, so not only were we frazzled by our shopping trip, but we ended up being flummoxed by what to do with everything once we got back to his parents' house.

Everything ended up in our gaming area/my crafting spot...


See that bin in the left-hand corner with all the boxes of thread in it? That's where I like to sit and stitch when there is natural light available to me. IKEA has taken over the family room and until everything is assembled and put into it's proper place at the new house, I think I'm going the be a cross stitch retiree/quitter.

That should only be about seven to ten days, though, if we work quickly. Fiance and I are set to close on our condo tomorrow, so we should be able to go in and do all of our upgrades starting this week. Today I'm actually headed over to pick out paint and set up our internet package, so we're progressing, but it seems to be at the expense of my free time.

In all reality, I will likely begin working on Yoshi again tonight. It's not a hard project and all I have left is fill work, but right now there's just no joy in the process for me. It's a race against time to get HSHY done before we move in--I still need to learn how to frame the thing--and since we're moving in super duper soon, things will be tight, but I think that getting it done will be a huge boost to my morale and sanity.

There is always a silver lining to things, though, and the result of my misadventures is that I'm going to teach myself to grid my fabrics for my next big project. I plan on practicing on a smaller project first, but I have a feeling that the practice will make things easier over time. Fingers crossed, right?

Wednesday, April 1, 2015

Pattern: 10,000 Memories Afghan

10,000 Memories
Pattern by Bob Crochets

Materials Required
  • Crochet Hook (I use a 4.0mm G Hook)
  • Yarn for motifs (<2m per motif)
  • Yarn for joining and border

Motif Instructions
If you are familiar with granny squares, this is just a one-round version--very simple. Ch 5, sl st tog. Ch 3 (this counts as your first dc), in loop 2dc, ch 2, *3 dc, ch 2* 3 times. Join at top of Ch 3. Weave in ends.
A whole lot of motifs ready to be joined.


Joining Your Afghan
A few notes before starting:
  • I find it quite helpful to look at each square as having four sides of a "1-3-1 pattern." There's 1 chain, 3 double crochets, and 1 more chain on each side of the motif.
  • You'll be joining this blanket in a step pattern from right to left as you move upward. I find that it helps to keep this in mind as you read through the directions and join your work.
Step One
Take two motifs, right sides facing eachother. Put hook through both loops of motifs' first chain stitches in the 1-3-1 pattern [Image 1]. Attach joining color [Image 2].
Image 1: Hook in first two loops of motifs.
Image 2: Attach joining color to motifs.

Step Two
Slip stitch  in first chain space of 1-3-1 pattern. (When starting a new row, this will be the same stitch where you attach your joining color to your work.)

Step Three
In back loops only, slip stitch in the side's three double crochets [Image 3].
Image 3: Hook in back loops of DC only.

Image 3: Hook in back loops of DC only.

Step Four 
In both loops of next Ch 1 stitch, slip stitch [Image 4].
Image 4: Hook in both loops of chain stitch.


Step Five
Pick up another motif and place it right-side facing down/in where the next "step" of the stairs should be [Image 5]. To join, repeat Steps 1-4 [Image 6].
Image 5: Placement of next motif.
Image 6: Step One demonstrated on next motif.


Step Six
Repeat Steps 1-5 until you reach the end of the row. You will be joining up the right side of a square, then across the top of it, then up the right side of the next square, and then over the top of it, always moving from bottom right to top left until you reach the end of the row. You'll be performing Steps 2-5 twice for each square--once going up and once going across--except for when you join to the first and last squares of each row. See Step Nine for more detailed photographs.

Step Seven
When you reach the end of a row, chain 1, cut joining color, and pull end through loop [Image 7].
Image 7: Chain 1 before cutting and pulling joining color through.
Step Eight
Optional: I like to begin crocheting my borders as I go. I find that it helps me manage all the yarn tails and allows me for the blanket to have much more strength as I work. If you decide to do this, single crochet up the straight (left) side of the blanket--five stitches per square--as you work each row. This process goes slowly, but I find it to be quite worthwhile.

Step Nine
Repeat Steps 1-8 until your blanket has reached your desired length. You will have a staircase of stairs instead of a square afghan. To square everything off, continue adding rows to the afghan via Steps 1-8, but make sure to start on top of the previous row's rightmost square instead of to its right. Also make sure to only crochet up to the desired height of your afghan or it will keep getting taller. See photographs below for additional information.
Front Side of afghan before "squaring up."
Back Side of afghan before "squaring up."

Close-up image of afghan's back side. It has an amazing texture!


Squaring Off Your Afghan
Below you will find more information about squaring off and completing your afghan. Each image below will walk you through the process, but if you need further information, please ask!

Placement of all squares before "squaring off":
 

Step 4 on third row, second square of afghan as you join over the top of last row's squares.

Step 2 on third row, second square of afghan as you join over the left-hand side of your square.

Step 1 on "Row 4," square one. Note that this row begins the "squaring off" process by starting on the top of the last row completed instead of to the right.

A finished piece that has been completely squared and tied off.

Step Ten
If you did not follow Step Eight, single crochet around the afghan. Add desired edging and you're done! (I prefer to use a simple double crochet border as shown below, but there are a lot of edging options that would look nice.)
Finished piece with a single crochet border.
My preferred edging method, as noted above.


Contact Information
If you have any questions about this pattern, find errors, or would simply like to contact me, please feel free to leave a comment below.

Sunday, September 28, 2014

Free Pattern: ANNA Map Sprite from Fire Emblem Awakening

 
To enlarge pattern, click on above image.
To download, right-click and select "Save Image As..."

Sunday, September 21, 2014

Free Pattern: THARJA Map Sprite from Fire Emblem Awakening


To enlarge pattern, click on above image.
To download, right-click and select "Save Image As..."